Ever since moving to our house we have wanted to keep chickens, finally after 7 years we are at a stage that we can afford to do it properly and give them the time and attention they will need.
We are complete chicken novices, to start we visited a local farm that specialises in chickens for families, they are happy to give advice about the process. We are very determined that our chickens need to be happy and thought long and hard about this decision.

We are complete chicken novices, to start we visited a local farm that specialises in chickens for families, they are happy to give advice about the process. We are very determined that our chickens need to be happy and thought long and hard about this decision.
We can even get them looked after by this farm when we want to go on holiday, we now book two holidays one for us and one for the chickens.
Finding a chicken coop and run was not the easy process we though it would be. The coop had to be the right size for 3-4 chickens, we nearly brought a bigger one but were told they would get cold and suffer. The run size is very important, when the website says suitable for 3-4 chickens that refers to the coop and not the run, you need to get a much bigger run than the one that comes with the coop, unless they are going to have the run of your garden.
We decided to go for the omlet walk in system as it was tall enough for Mr MC&W to walk into and gave the chickens the space they needed. We could configure it to the exact size we wanted and the coop could be on the outside giving the girls maxim room.
The coop and run finally arrived, we just stood looking at the letters on the boxes with no idea where to start. Advice, sit down and work out what your building and read the instructions carefully and slowly. Lay out the boxes the bottom sections, middle sections and top and familiarise yourself with the contents. Take your time at this point it really helps the build go faster. Lay the bottom section out out where its going to be put up, when the bottom section is built repeat for the middle and finally the top. Do put the clips in warm water and if its cold you will end up with what we described as Omlet thumb. The bottom section is the hardest and produced the most heated conversations. Another tip is watch the way the panels are being fitted so you do not end up with one the wrong way round, then have to take apart and start again. If it is cold omlet thumb has struck big time and taking the clips apart can be at that moment in time the worst moment of your life.


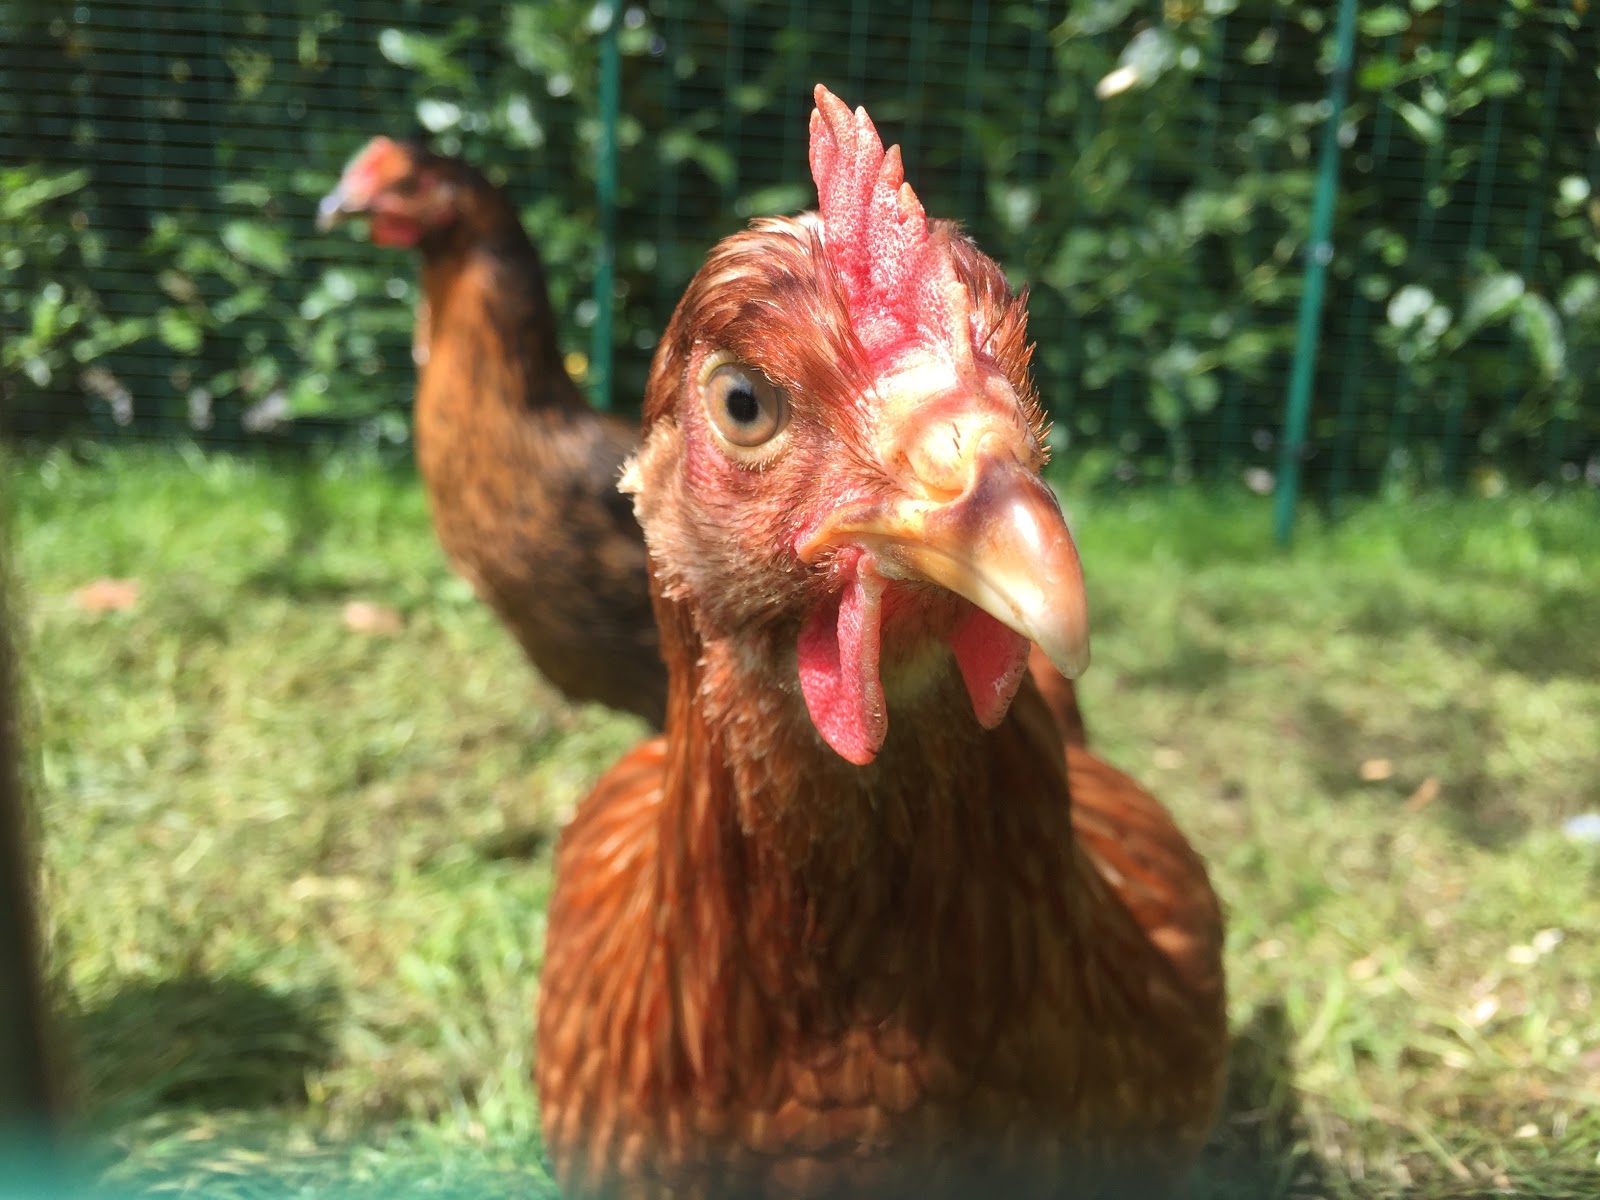
We are thrilled with the girls and they are really setting in, they are even now eating the beloved golden corn straight from our hands and they are getting used to bedtime....


We decided to go for the omlet walk in system as it was tall enough for Mr MC&W to walk into and gave the chickens the space they needed. We could configure it to the exact size we wanted and the coop could be on the outside giving the girls maxim room.
The coop and run finally arrived, we just stood looking at the letters on the boxes with no idea where to start. Advice, sit down and work out what your building and read the instructions carefully and slowly. Lay out the boxes the bottom sections, middle sections and top and familiarise yourself with the contents. Take your time at this point it really helps the build go faster. Lay the bottom section out out where its going to be put up, when the bottom section is built repeat for the middle and finally the top. Do put the clips in warm water and if its cold you will end up with what we described as Omlet thumb. The bottom section is the hardest and produced the most heated conversations. Another tip is watch the way the panels are being fitted so you do not end up with one the wrong way round, then have to take apart and start again. If it is cold omlet thumb has struck big time and taking the clips apart can be at that moment in time the worst moment of your life.


We are thrilled with the girls and they are really setting in, they are even now eating the beloved golden corn straight from our hands and they are getting used to bedtime....


We used to have a chicken coop when I was a kid and absolutely loved visiting the chickens. #BloggerClubUK
ReplyDeleteThe boys love them so much it’s lovely x
DeleteI'm thinking that walk-in chicken run would make a brilliant fruit cage..!
ReplyDeleteI like your thinking
DeleteI really want to do this now we have land and space again. Used to have chicken on smallholding and added so much to life #BloggerClubUk
ReplyDeletethey have been amazing and now laying eggs which is a treat x
DeleteOh this is great - having your own laid free range eggs. Would've loved this but don't have a smallholding and our neighbors would go bonkers if the roosters start making a noise early in the morning.
ReplyDeletehahaha yes we def did not get a rooster could not cope with that as well xx
DeleteWe had chickens growing up and the eggs were so yummy! #DreamTeam
ReplyDeleteThey are another world i am shocked xx
DeleteI'm a huge fan of Omlet, I had the pink Cube for my girls and absolutely loved it! Thanks so much for sharing with #Blogstravaganza xx
ReplyDeletethey are brilliant and so easy to keep clean xx
DeleteYou have spent so much time and effort to get things sorted for them. I hope they are happy in their new coop. Thanks for linking up with #stayclassymama
ReplyDeletethank you yes we worked very hard to makesure our girls are happy xx
Delete